Vintage Computing Retreat
Last updated: Mar 15, 2020
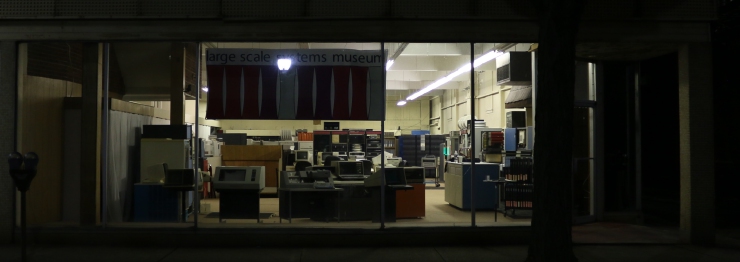
As luck had it, I was able to return to the Large Scale Systems Museum and this time, I could spend four days for an extended vintage computing retreat. Dave McGuire, the curator and director of the museum, was kind enough to host me and let me spend my nights in the museum, while he was asleep.
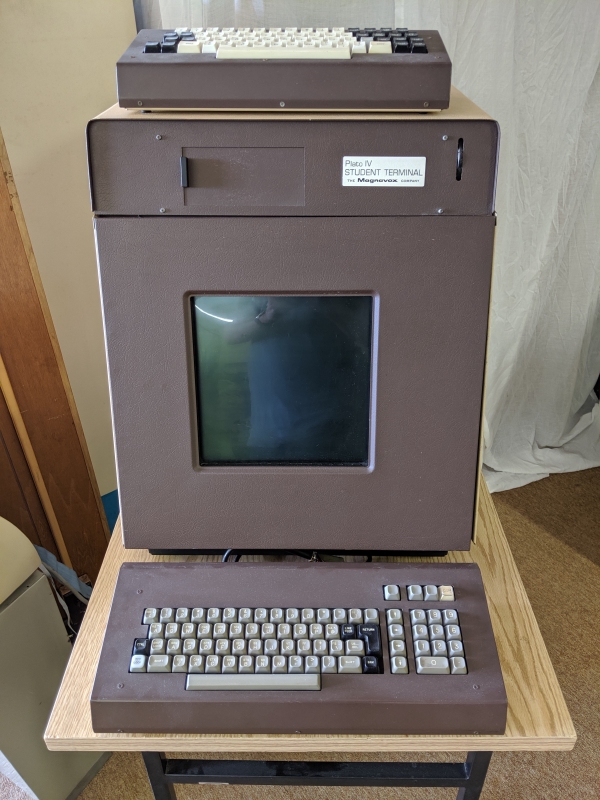
On my last visit, I was mostly struck with awe by the massive collection that Dave has accumulated over the years. The showroom itself is impressive, with dozens of mainframes, minis and peripherals on display. While there are so many things to drool about, the PLATO terminal is a gem that I had never expected to see in my life:
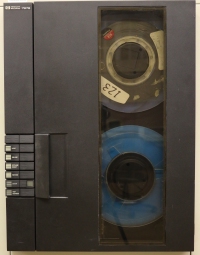
I had a knack for computer reel tapes since I first saw them as a kid, and that interest seems to not fade away. Whenever I go to a computer museum, I hope to see one of those drives spinning. Maybe it is because there is so little movement in a data center that keeps me attracted.
Tape drives are also featured rather nicely in one of my favorite movies:
To keep me busy and entertained for the week, my plan was to get some of the many tape drives that are in the museum to actually work:
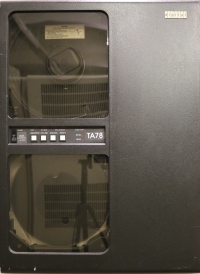
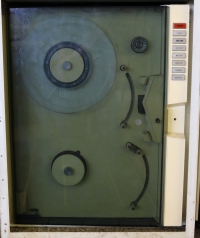
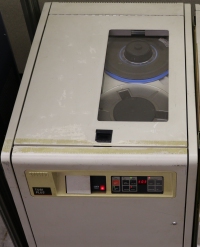
IBM 2440
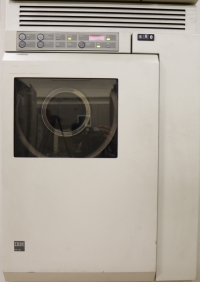
There is a rack with two IBM 2440 drives in the museum. These are massive, great-looking machines with heavy metal doors, huge hinges and spared-no-expense build quality. They are connected to an IBM mainframe using the Bus and Tag Interface. It is pretty hard to find any information about these drives online, but Dave has two service manuals that provide quite some detailed information about the drives and how to troubleshoot them.
Both drives had not been in working order, so I set about trying to find out what their problems are and whether I could fix them. The upper of the two drives powered up fine, but it had trouble loading the tape. It got stuck in the load process at step L20 without timing out or doing anything else. Unfortunately, the service manual provided little help, indicating that the problem should be located in the upper vacuum column and one should check for clogged sensor nozzles. Nothing in the manual described the failure mode of the drive, so after checking the vacuum columns for dirt and cleaning the tape path, I gave up on it.
The lower of the drives did not power up at first, but I found a blown fuse behind the drive door and replaced that. The drive then started fine, and after some head cleaning, it passed its self tests without errors. It is unfortunate that it is the lower drive, which is hard to access or show off.
It is worth noting that the tape drive has a key pad that can be used to run diagnostic tests without requiring the collaboration of the host system. This makes quite some sense, as problems in a tape drive would be remote problems when it comes to the operation of a room-filling mainframe computer system, and a technician would normally address such problems without having to know anything about the host at all.
Interestingly, the diagnostics system has multiple “access levels” and in order to run some of the more low-level tests, one has to first enable higher access levels. For example, in order to run test number 50, one has to first enable access level I using one command and then enable access level II using another command. I was glad that there was no password protection on the access levels, so having to type three commands was only mildly annoying. Still. IBM mainframes. Like, booting takes half an hour and constant hand holding!
The 2440 drive is self-threading, so the operator only needs to place the reel on the file wheel, close the door and press the “Load” button. The rest is done by the machine automatically:
During the load process, a series of incrementing codes is shown in the LED display on the top. They show the progress that the tape makes through its path inside the drive, pulled by the vacuum pump and close coordination of wheel movements.
With the drive passing self tests, Dave set about to get it hooked up to the mainframe so that we could actually try it out. This required him to go through the lengthy boot process of the System 390. Also, he had to reconfigure the hardware so that it would be able to use the drive as configured, as its physical address was in use by a terminal concentrator. Luckily, there are several levels of addressing indirection between the hardware and the operating system on a modern IBM mainframe, so in the end it was a matter of changing some text files before booting the machine. I was rather impressed, both by this flexibilty and by Dave actually putting it to good use within a few minutes.
He was then able to read and write tapes from the mainframe, but apparently there are some issues limiting the data rate between the system and the drive, preventing it from streaming. I believe there is something to be fixed about the connection between the mainframe and the tape drive, but to me as the wannabe drive technician, I believe that my job is done.
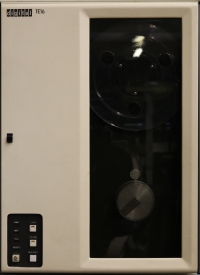
TU81
The next candidate for repairs were the two Digital Equipment TU81 PLUS drives. One of them is connected to a PDP-11/44 running RSX-11M Plus, the other to a VAX-11/750 running VMS (so I thought).
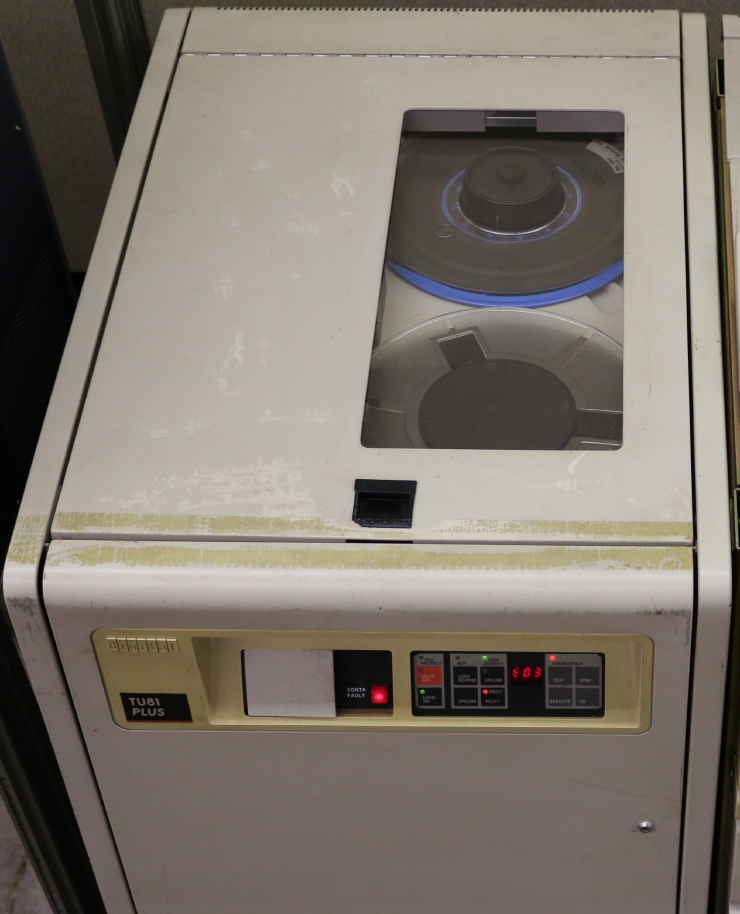
These drives are not as sophisticated as the IBM 2440 - Threading is manual, the overall build quality is much cheaper and they probably did just cost as much as a small car, not a whole house, when they were originally bought. I took on the one connected to the PDP-11 first as Dave said the VAX had trouble booting. Like the IBM 2440, the TU81 has internal diagnostic tests that can be run from the front panel, so fixing it does not require cooperation of the host that it is connected to. Dave has a rack of tapes and I picked a few of them to run the (destructive) diagnostic test.
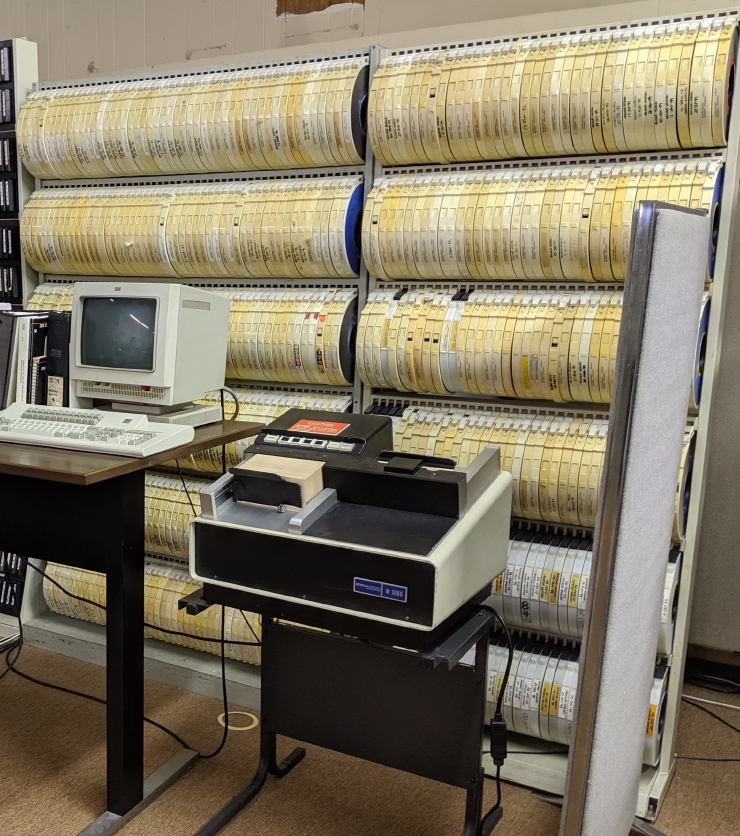
Unfortunately, the results of the primary diagnostic test were quite inconsistent when it was run with different tapes. This made me think that the tapes did not age well, maybe due to storage conditions or other environmental factors. Fortunately, Dave had a small stack of brand new tapes from which I picked one for my further tests. With that tape, I saw the same error outcome (E03) from the test which I had also seen with some of the used tapes, so I decided to only use the new tape for all further tests.
I used the TU81 Pathfinder Manual to try isolating the problem to a specific part of the drive. The manual asks for a known-good tape to be used and for the head and tape path to be cleaned before going any details of the fault. With the new tape and having cleaned the head and tape path, I was rather sure that I could take on the next steps in the fault resolution procedures. The Pathfinder manual guides through board- and component-level repairs, so in order to proceed, I had to find some spare parts. Dave said that there were some more TU81 drives in building three, so I headed over there to find a donor.
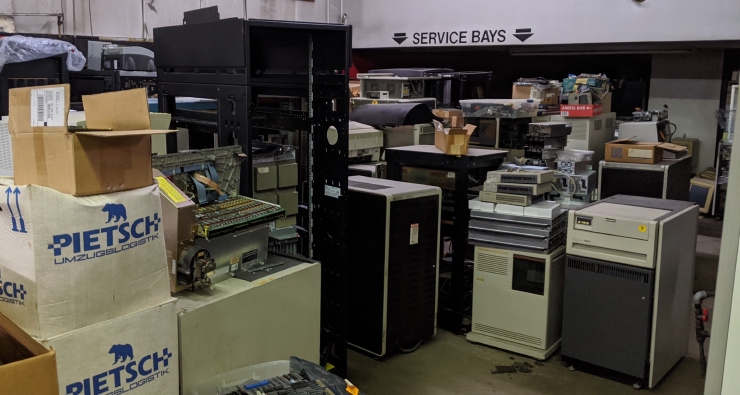
Building three contains a huge number of large machines that are “stored” there. Large Suns, Mainframes, VAXen galore, Data General Eclipse, tape and disk drives and boxes and boxes of stuff. Among this, I spotted two tape drives suitable as parts donors.
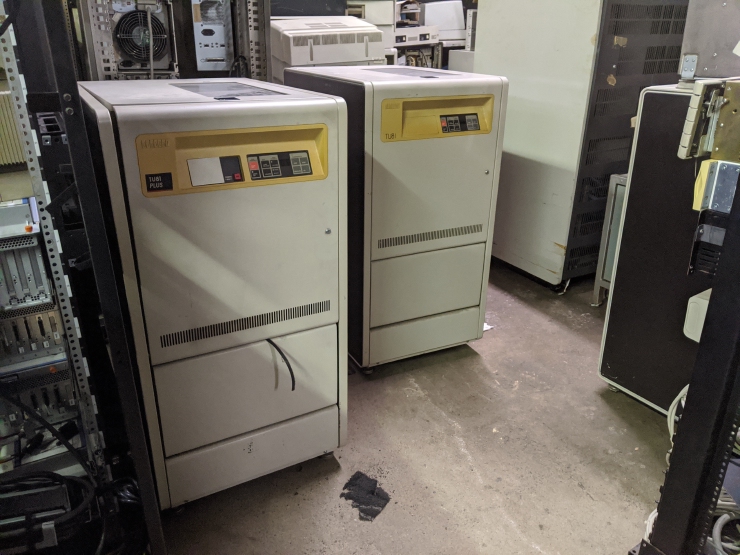
I yanked out the two tape heads and a complete set of printed circuit boards from the two machines. Equipped with these spare parts, I tried to restore the failing drive. After unsuccessfully exchanging the write driver module, the Pathfinder manual suggests to change the heads.
At first, I was a little scared to do that. I feared that doing this would require some sort of head alignment procedure, which would be something that I’d want to avoid. When exchanging the heads of the drives, though, I found that the field replaceable head assemblies do not require any alignment, as they consist of a precisely machined base plate which is mounted in the drive with guides that have very low manufacturing tolerance. Thinking about this, it makes a lot of sense to not require in-field alignment as that’d be hard to do in a reliable fashion anyway.
I was out of luck, however, and could not get the E03 message produced by test 01 to go away. With the little experience that I have with troubleshooting these drives, I’m going to conclude that all the heads have corroded enough to not work anymore, and that a new, working head assembly is required to restore the PDP-11 drive to working order.
On to the other TU81, which sits next to the VAX-11/750: After cleaning the tape path and heads, the Pathfinder lead me find that the rotary encoder on the takeup reel to not be working. I verified that the encoder did not actually generate a signal, so I replaced it with the part from one of the donor drive. With that replacement, the drive was working perfectly and passed self tests with the new tape reliably.
I found, however, that the drive was not connected to the VAX, and that the VAX did not even have a suitable tape controller. On to building three, where we found a PDP-11/84 which had the required M8739 KLESI-UA controller that we’d yank out.
Before we could even think about adding the controller into the UNIBUS cage, we wanted to ensure that the machine would actually run. Dave’s last information was that there was some issue during the boot process, presumably because the M7475/M7486 UDA50 SDI controller failed. These boards have an on-board -5V switching power supply that feeds of the -15V rail of the UNIBUS. That power supply is known to fail often, and the theory was that the controller died, causing the machine not to boot.
As you may have guessed by now, there is a huge supply of UDA50 board sets in the museum and Dave provided me with a big stack of them to try out. I must say that this was not the best experience in the world, as getting boards into and out of the UNIBUS requires a lot of manual force. It made me kind of long for the ISA days, which were also not that nice, but still better than having to brute force these huge PCBs into the backplane slots. Of course, I cut my fingers and sacrificed some of my blood to the restoration of this machine.
I tried five or six different UDA50 board sets, but all of them exposed the same behavior. When trying to boot, the machine halted at right away, always providing the same address. This lead me to believe that the problem would not be with the UDA50 controller, and something else in the machine must be faulty. Dave suggested that maybe the L0004 UBI (Unibus Interconnect) board might be the culprit. We went through the stacks of boards to find another L0004 to try out (and at this point, I need to point out that it is quite amazing that Dave has a very good recollection of what to find where in his gigantic collection of things). With one of the replacement boards installed, the machine behaved differently depending on which of the UDA50 board sets I installed. This allowed me to find one that actually worked. I could then boot the VMS 7.2 installation that was on an RA90 drive in another corner of the museum, connected by a lengthy SDI serial cable.
With the machine known to boot, I went on to install the KLESI tape controller. Naively, I rearranged the board in the Unibus cage to suit my aesthetic feelings, which prevented the machine from booting, leaving me puzzled. Dave educated me that in the Unibus, there are several grant signals that need to be either properly controlled or passed on by each card installed in the bus. Unused slots in the bus need to have a G7273 continuity card installed so that the bus is functioning properly. Now, these continuity cards are relatively rare and one of the grant signals (NPG) is seldomly used anyway, so it is common to install a jumper wire on the back of the backplane to provide NPG continuity. When a slot has this wire installed, it is sufficient to install a smaller, cheaper card to provide bus grant continuity, and by shuffling around the boards, I messed things up in that respect.
By looking at the backplane, I had trouble identifying which of the slots had the NPG continuity jumper installed:

The astute reader may be able to see one blue and two red jumpers, but these were not the only ones. I ended measuring the continuity of the two pins on each slot using a Unibus slot extender card to make sure that I’d exactly know which slot had the jumper and which hadn’t. Equipped with the results of my tests, I devised a plan how to install the cards and the continuity boards and finally was able to boot into VMS, mount tapes and read them. We did have some trouble writing tapes, though, and Dave found some controller related errors in the system error log. At that point, I ran out of time (and energy) and left the rest of it for Dave to fix.
Thanks!
Thanks to Autumn and Dave for having me this week! It was great fun to be meeting them again and working on these machines. It is clear that four days are not enough to become a good service engineer for anything that I worked on, but next time I’ll have the opportunity, I will know some more about them. I can highly recommend doing a Vintage Computing Retreat to anyone who has experience or is daring enough to get some more. There are so many things in the Large Scale Systems Museum which one can take care of, preserving these amazing machines for future visitors and generations.
